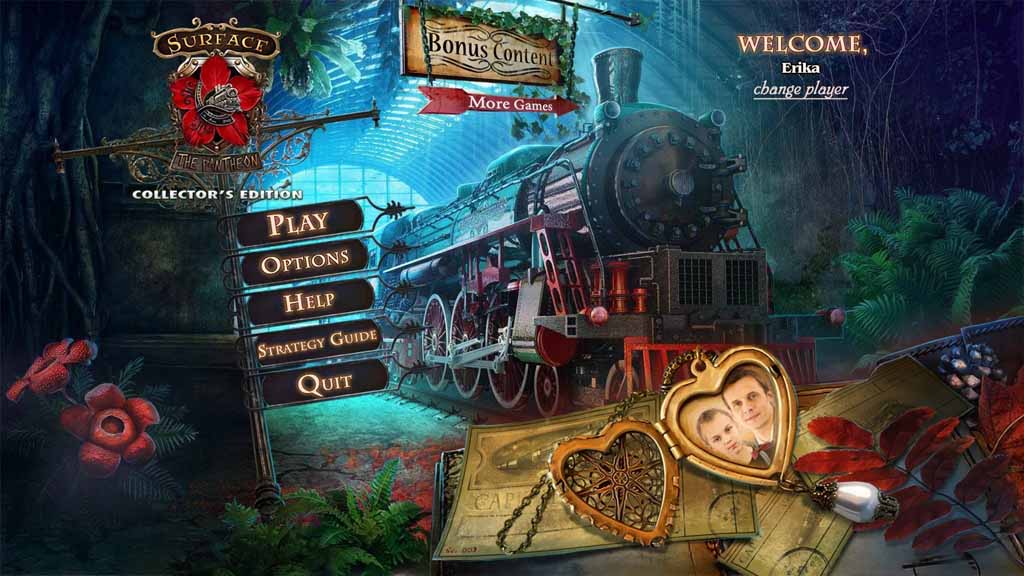
Surface: The Pantheon: General Information & Tips
Trust our Surface: The Pantheon Walkthrough as you feel the flicker of hope sputter to life that you'll see your family once more. But it won't be an easy journey. Use our detailed and custom screenshots, our step by precarious step instructions, and our simple puzzle solutions to help discover the secret behind exactly what happened to the Capital Express on that fateful day.
Chapter One: Into the Tunnel
Chapter Two: Caught in the Stone Trap
Chapter Three: The Hut
Chapter Four: Inside the Train
Chapter Five: Opening the Briefcase
Chapter Six: On the Platform
Chapter Seven: Getting to Know Bors
Chapter Eight: Temple Tour
Ask for help in the comments below!
Welcome to our Surface: The Pantheon Walkthrough, which is jam-packed with all the information you’ll need to discover the truth about what happened to Capital Express and your husband and daughter that fateful day. We have a ton of helpful hints, step-by-step instructions, and custom marked screenshots that ensure you’ll never miss an item or puzzle.
Please enjoy our Surface: The Pantheon Walkthrough!

Opening Story:
In Surface: The Pantheon, it's been one year since that fateful day you watched the Capital Express leave the station with your husband and daughter on board, only to disappear at some point in its journey. Now, you've returned to the station and are confronted by a man who wants to attempt to recreate the event that caused the train to disappear. Do you dare hope this scheme will help bring back your family? Find out in this exciting addition to the Surface series.
General Tips for Surface: The Pantheon
Difficulty - Three modes: Casual, Advanced, and Hardcore. In Casual mode the hint and skip buttons recharge more quickly and sparkles mark active zones; in Advanced mode there are no sparkles, and the hint and skip buttons take longer to recharge; in Hardcore mode there are no sparkles, hints, or a skip button.
Arrow Cursor - When you cursor turns into an arrow, it means you go move in that direction.
Hand Cursor - When your cursor turns into a hand, it means you can pick up an item and add it to your inventory.
Magnifying Glass- When your cursor turns into a magnifying glass it means you can zoom into an area to get a better look or just inspect something more closely.
Hidden Object Scenes - Hidden object scenes will be indicated by sparkles.
Inventory - Your inventory can be found at the bottom of the screen. You can either chose to lock it, which will keep it open at all times, or unlock it, which meant it will shrink down when you’re not interacting with it.
Hints - The hint button found in the lower right hand corner of your screen and is marked “Hint.” Click here if you're stuck. Just remember, the button takes time to charge before you can use it again.
Map - The map is located on the lower left corner of your screen. Click on an area to fast travel to it.
Menu - The menu button is located at the bottom left portion of your screen below the map.
Skip - During mini-games, if you are having trouble or maybe you just don't feel like solving it, you can click on the skip button.
Gears - When you can use an item in your inventory, your cursor will turn into gears.
Tasks - Your current tasks can be found by clicking on the task button located at the top left corner of your inventory bar.
Bonus Objects - There are 81 flowers for you to collect throughout the game.
And those are the basics for playing Surface: The Pantheon. We wish you good luck and hope you enjoy our Surface: The Pantheon Walkthrough!
Chapter One: Into the Tunnel
Chapter Two: Caught in the Stone Trap
Chapter Three: The Hut
Chapter Four: Inside the Train
Chapter Five: Opening the Briefcase
Chapter Six: On the Platform
Chapter Seven: Getting to Know Bors
Chapter Eight: Temple Tour
Ask for help in the comments below!
