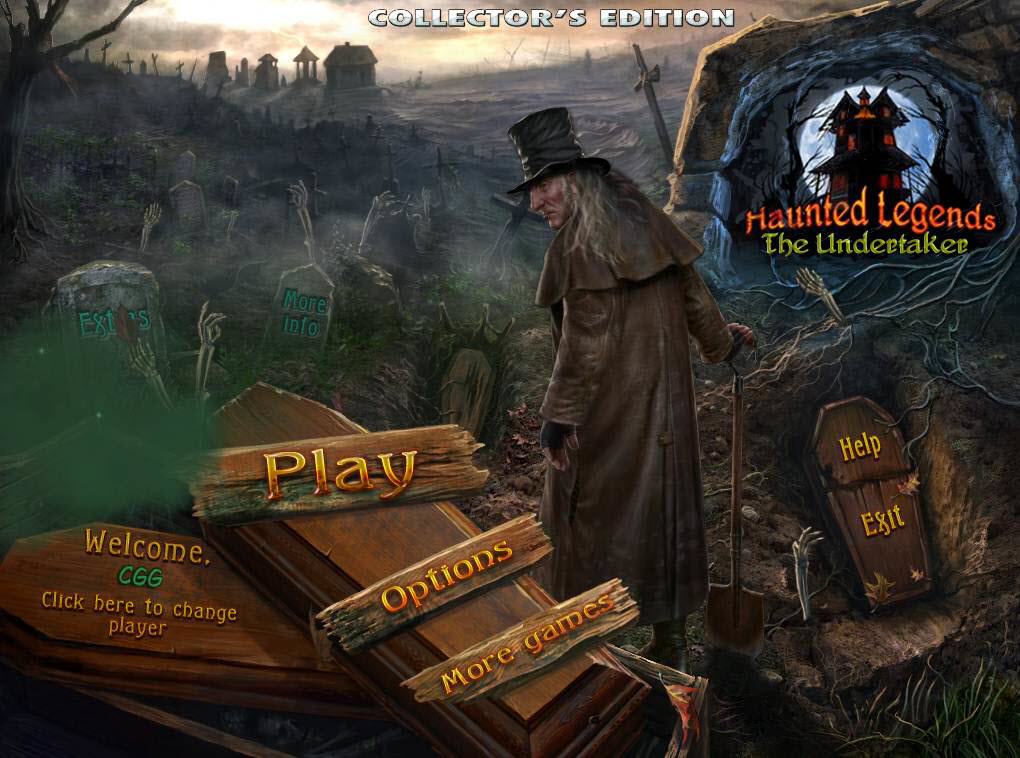
Haunted Legends: The Undertaker
Our Haunted Legends The Undertaker Walkthrough will help you survive the current infestation of the undead, as they roam the streets of this once quaint fishing village helping themselves to whatever or whoever gets in their way. With clear chapter-by-chapter instructions and detailed screenshots showing every hidden object scene and puzzle or mini-game you'll encounter, you'll have no trouble discovering the truth behind this mysterious curse.
Chapter 1: Introduction to Mrs. Fisher
Chapter 2: Exploring the Underground Crypt
Chapter 3: Inside the Hospital
Chapter 4: Welcome to the Fort
Chapter 5: Bell Tower View
Chapter 6: Discovering the Market
Chapter 7: A Look into the Lighthouse
Chapter 8: Hotel Access
Chapter 9: The End
Bonus Game
Ask for help in the comments below!
Thanks for joining us at the Haunted Legends The Undertaker Walkthrough. Here you will find everything you need to play this frightfully exciting hidden object game. We've made sure to include plenty of screenshots clearly marking all key objects and detailed instructions to help you get to the bottom of this mysterious curse that has turned a quaint fishing village into a permanent residence for the walking dead. We hope you enjoy our Haunted Legends The Undertaker Walkthrough.

Opening Story:
In Haunted Legends The Undertaker, swarms of newly risen dead can be found walking around and terrorizing the town. You are called in to investigate these horrific happenings by Mrs. Fisher, who lets you in on a suspicious plot: a bargain struck and not kept by her husband with a strange and insidious man who seems to be responsible for cursing the town with its current infestation. It's going to take all your skills as a detective to track down the man responsible for this otherworldly curse and return the dead back to where they belong - six feet under. Can you solve this mystery before it's too late? With our Haunted Legends The Undertaker Walkthrough you can!
General Tips for Playing Haunted Legends The Undertaker
Difficulty Settings - There are three difficulty settings in this game, casual, advanced, and hard. You can change the difficulty settings from the options menu during gameplay.
Diary - Your diary will store all the important notes and clues you find during your adventure. If you're stuck and not sure what to do, it's always a good idea to check out your diary.
Navigation Arrow - These will appear when you are able to move to another screen. Click on it to move.
Magnifying Glass Icon - When your cursor turns into a magnifying glass, it means you can zoom in on an area to get a closer look.
Hand Cursor - When your cursor turns into a hand, it means you can pick up an item and add it to your inventory or interact with an item in some way.
Hints - Hints can be found in the lower right hand corner of your screen. Click here if you're stuck. Just remember, these take time to charge before you can use it again.
Inventory - Your inventory can be found at the bottom of the screen. Just hover your mouse over that area to bring it up. If you want to lock the inventory bar in place, click on the padlock on the lower right corner to lock it.
Skip - During mini-games, if you are having trouble or maybe you just don't feel like solving it, you can click on the skip button.
Hidden Object Scenes - Hidden Object Areas will sparkle. Objects in white are in plain sight. Objects in orange are hidden and require and extra step for you to find it.
And that's the basics for playing Haunted Legends The Undertaker! Good luck! And we hope you enjoy our Haunted Legends The Undertaker Walkthrough!
Chapter 1: Introduction to Mrs. Fisher
Chapter 2: Exploring the Underground Crypt
Chapter 3: Inside the Hospital
Chapter 4: Welcome to the Fort
Chapter 5: Bell Tower View
Chapter 6: Discovering the Market
Chapter 7: A Look into the Lighthouse
Chapter 8: Hotel Access
Chapter 9: The End
Bonus Game
Ask for help in the comments below!
